Chasing the Golden Hour: 5 Tips for Snapping Pro-Level Photos on Your Next Guided Tour
- Adam Solomon

- Feb 22
- 6 min read
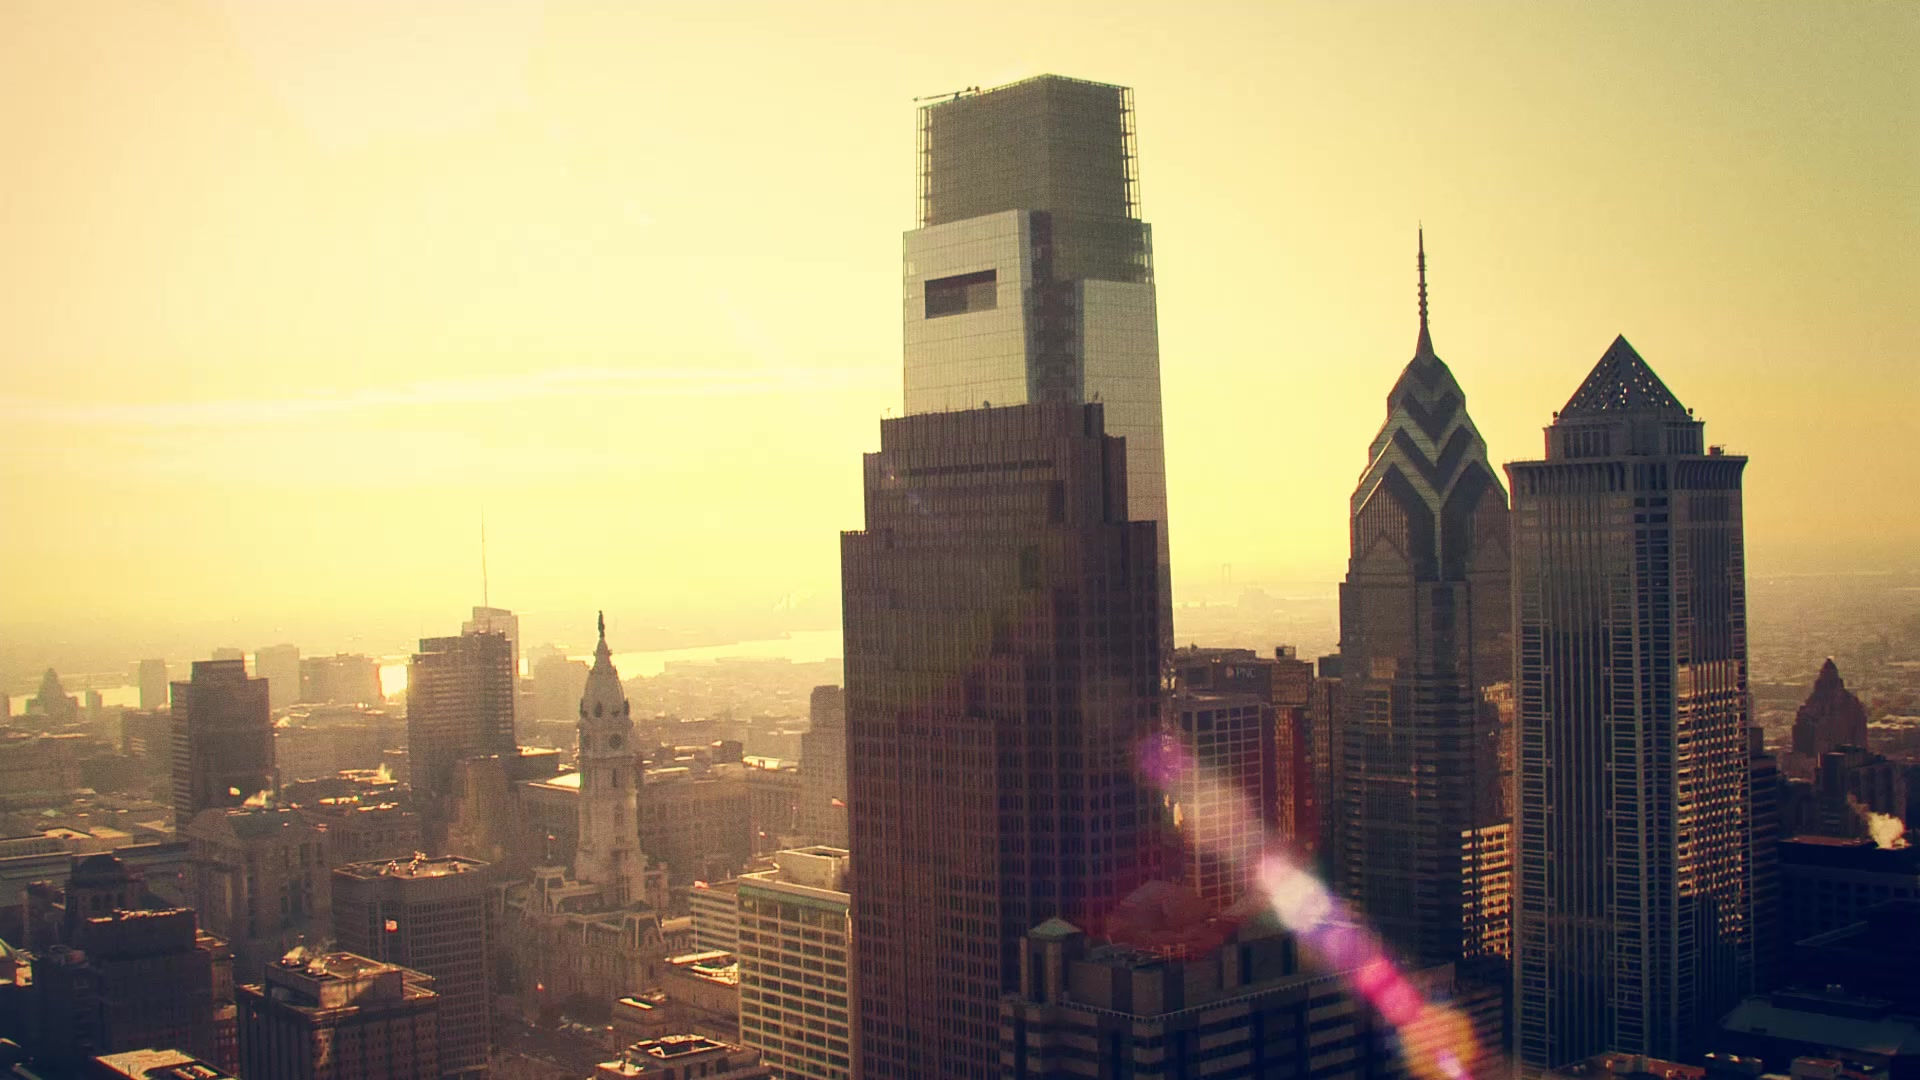
Let's be real: part of the magic of riding through the scenic motorcycle routes USA has to offer is capturing those jaw-dropping moments when the light hits just right. You know the ones: that mountain ridge glowing orange, your bike silhouetted against a fiery sky, or your riding buddy cruising through a tunnel of autumn colors. But here's the thing: getting those Instagram-worthy, frame-on-your-wall-worthy shots takes more than just pulling out your phone and tapping the screen.
The golden hour (that magical window about an hour before sunset or after sunrise) is your secret weapon for epic motorcycle tour photography. The light is softer, warmer, and more forgiving than harsh midday sun. And when you're on one of our guided motorcycle tours USA adventures, you're already in the perfect position: rolling through some of the most photogenic landscapes in the country with built-in photo-op stops.
So let's talk strategy. Here are five pro-level tips to help you capture those golden hour moments that'll make everyone back home jealous.
1. Scout Your Shots and Work With Your Guide's Timeline
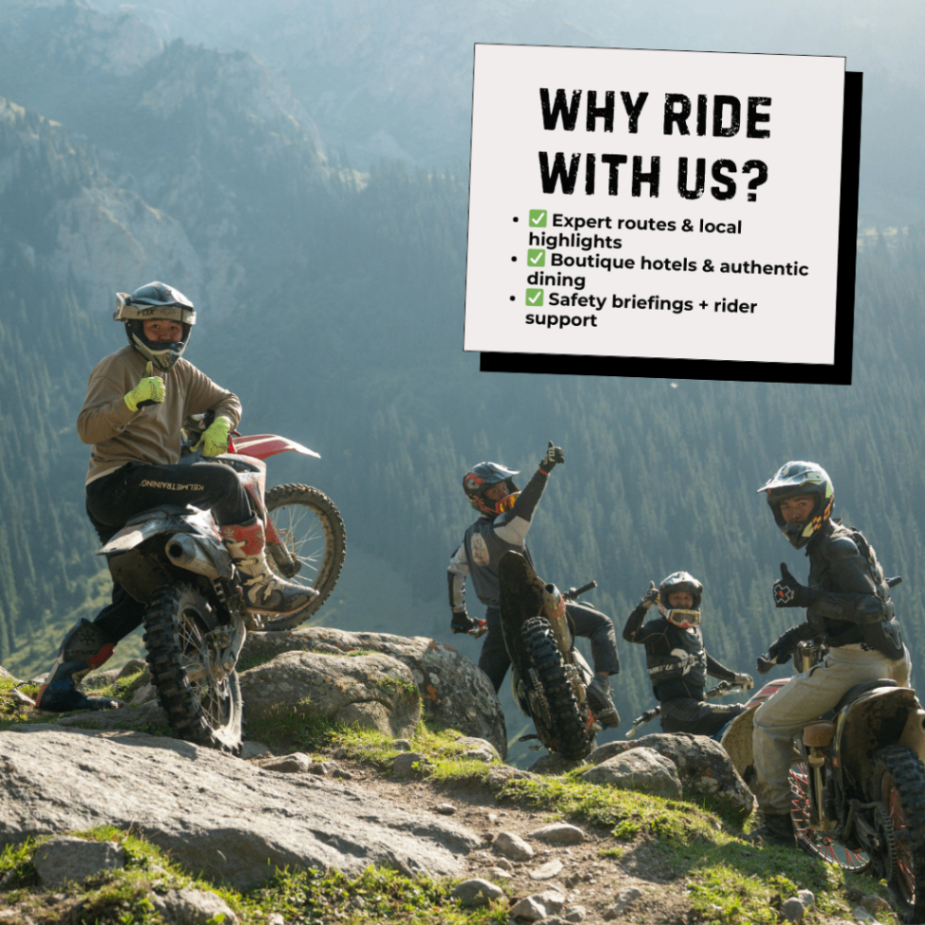
Here's where riding with a guided tour gives you a massive advantage: we plan our routes with scenic overlooks and legendary photo spots in mind. While solo riders might miss the perfect timing or the best vantage points, you've got a team that knows exactly when and where the light will be magical.
Make the most of it by:
Asking your guide about the day's route and sunset timing during morning briefings
Identifying 2-3 "must-capture" locations before you even start riding
Arriving at scenic stops a few minutes early to scope out your composition while others are still parking
Looking for natural filters like tree branches or rock formations that can add depth when the sun streams through
The sweet spot for golden hour shooting is actually about 10 minutes before sunset and 10 minutes after the sun drops below the horizon. That's when you get that dreamy, warm glow that makes everything look better. On our tours through places like the Blue Ridge Parkway or the Tail of the Dragon, we time our stops to hit these windows whenever possible.
2. Nail Your Camera Settings Without Overthinking It
Look, you're on a motorcycle tour, not a professional photo shoot. You don't need to be a camera wizard to get great shots, but understanding a few basic settings will level up your game significantly.
Here's your quick-start golden hour setup:
Aperture: Use the widest your lens can handle (f/1.8, f/2.8, or f/4). This lets in maximum light and creates that beautiful blurred background that makes your subject pop.
ISO: Start around 200-400 when the sun is still visible, then bump it up to 800-1200 as the light fades. Higher ISO means more light sensitivity but also more grain: find your camera's sweet spot.
Shooting mode: If manual mode feels intimidating, switch to aperture priority. Your camera will automatically adjust shutter speed as the light changes, so you can focus on composition instead of constantly tweaking settings.
File format: Shoot in RAW if your camera allows it. This gives you way more flexibility to fix exposure and colors later without losing quality.
Pro tip: Take a test shot as soon as you arrive at a stop. Check your screen, adjust if needed, then lock in those settings. You don't want to be fiddling with buttons when that perfect moment happens.
3. Master the Art of Strategic Lighting Angles
Golden hour light is forgiving, but where you position yourself relative to the sun still matters: a lot. This is where most amateur photographers miss the mark, even with perfect light.
Front lighting is your safest bet: Stand with the sun over your shoulder, illuminating your subject (whether that's your bike, a riding partner, or a landscape). This creates warm, even lighting that's especially flattering for people and makes chrome and paint jobs gleam.
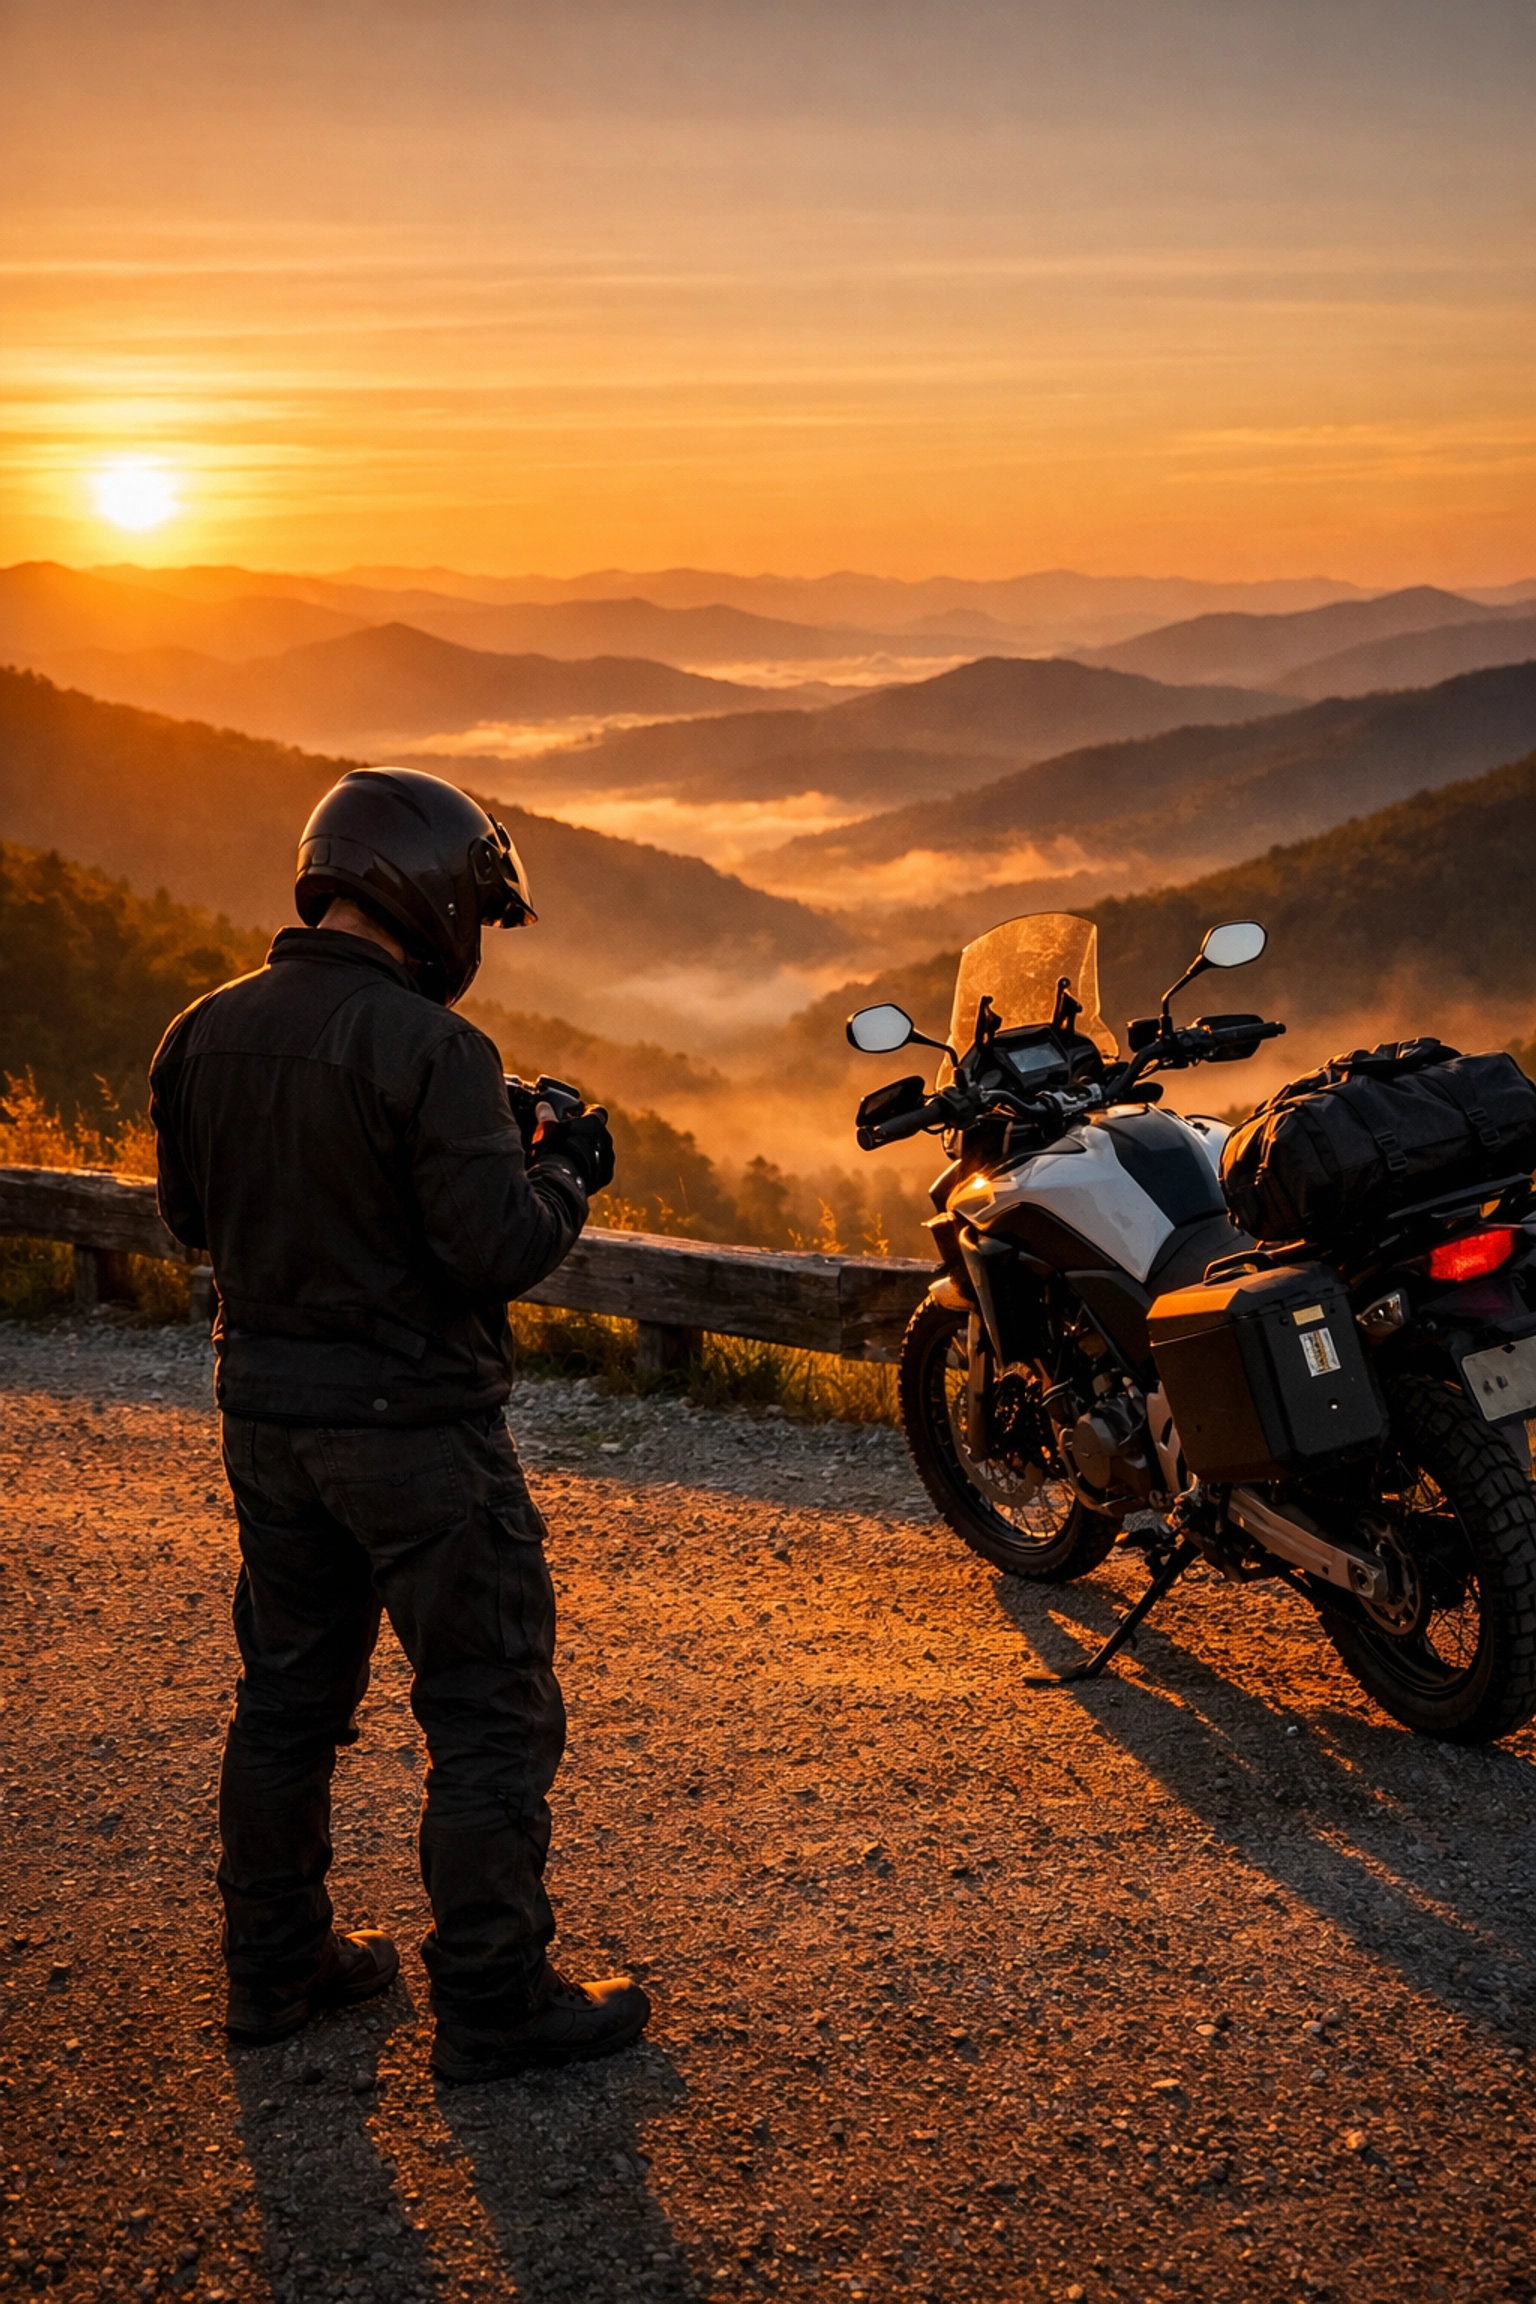
Backlighting is where things get dramatic. Position the sun behind your subject to create a glowing halo effect: think silhouetted rider with golden light streaming around them. Here's the trick: meter off your subject (tap them on your phone screen or adjust your camera's focus point) to avoid total silhouette darkness. You want detail in the shadows with that gorgeous rim lighting.
Avoid placing the sun directly in your frame unless you're going for a specific starburst effect. It'll overwhelm your lens, create harsh flares, and make it nearly impossible to properly expose your shot.
When we stop along scenic routes, take 30 seconds to walk around your subject. Notice how the light changes from different angles. Sometimes moving just five feet to the left transforms an okay shot into a keeper.
4. Compose Like a Pro With Simple Techniques
You don't need an art degree to create visually compelling photos. You just need to understand a few fundamental composition rules: and know when to break them.
The Rule of Thirds is your foundation: Imagine your frame divided into nine equal sections by two horizontal and two vertical lines. Place your key elements (horizon line, your bike, a person) along these lines or at their intersections rather than dead center. This creates natural balance and makes photos feel more dynamic.
Leading lines are everywhere on motorcycle tours: winding roads, guardrails, tree lines, rivers. Use them to guide the viewer's eye through your image and create depth. A curving highway disappearing into a golden sunset? That's the stuff of motorcycle photography dreams.
Natural framing adds professional polish: Shoot through tree branches, rock formations, or even between parked bikes to create a "frame within a frame" that draws attention to your main subject.
Vary your perspective: Don't just shoot from standing height. Crouch low to make your bike look more imposing against the sky. Climb up on a rock for a bird's-eye view of the group. Get close for detail shots of weathered leather, chrome details, or tire treads with scenic backgrounds.

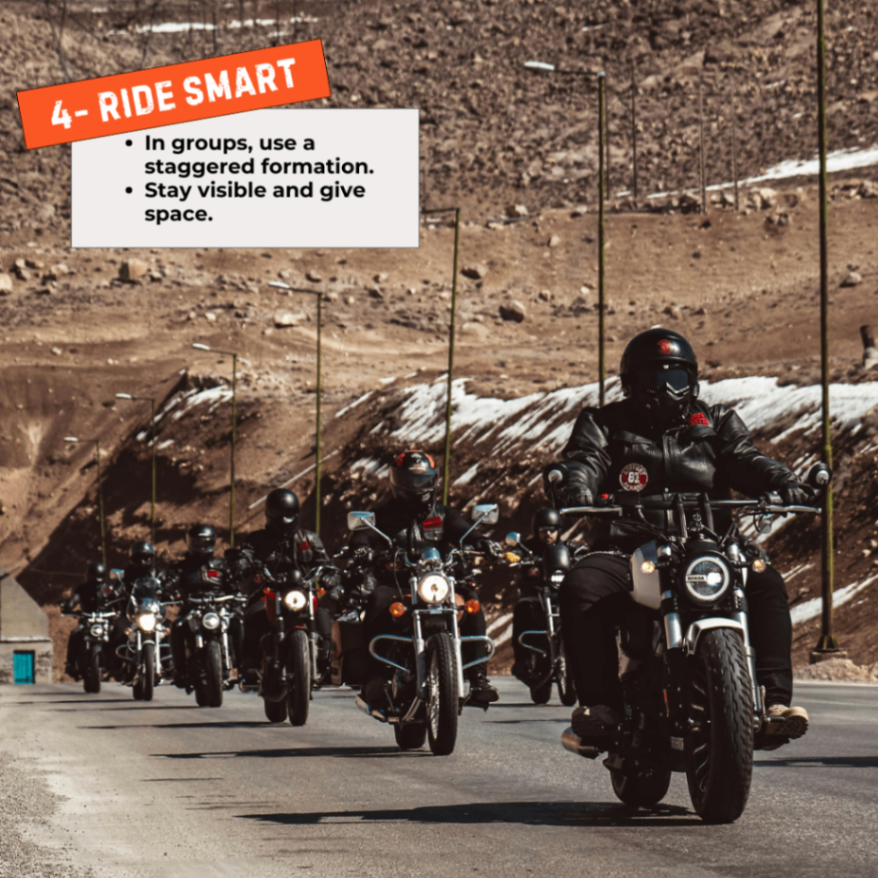
5. Capture Movement and the Spirit of the Ride
Static bike photos are fine, but the magic of motorcycle touring is in the motion, the journey, the feeling of freedom. Golden hour is perfect for capturing this energy because the warm light adds emotion to action shots.
Try these techniques:
Rolling shots: If you're riding with a passenger or have a GoPro mount, capture shots of other riders in motion with the golden landscape streaming past. The motion blur in the background emphasizes speed while keeping the rider sharp.
Panning shots: Stand in a safe spot (never in the road) and pan your camera to follow a moving rider. Use a slower shutter speed (1/125 or 1/60) to blur the background while keeping the motorcycle relatively sharp.
Look for dynamic elements: Wispy hair in the wind, dust kicked up from a dirt road, flowing scarves or bandanas, water splashing: these add life and energy to your images.
Capture reflections: Wet roads, still water, or even a polished gas tank can create stunning reflections of that golden sky.
Don't forget to shoot into the blue hour too: that magical 20-30 minutes after sunset when the sky turns deep blue and artificial lights start to glow. The contrast between warm lights and cool sky creates mood you can't replicate any other time.
The Bottom Line: Document Your Adventure
Here's what it comes down to: You're investing time and money in an incredible experience riding through some of the most beautiful places in America. You're carving through mountain passes, cruising coastal highways, and discovering roads that most people never even know exist. Those memories deserve to be captured properly.
The golden hour gives you a built-in advantage: light that makes everything look better with minimal effort. Combine that with the strategic stops and timing of our guided tours, and you've got the perfect recipe for photography success.
You don't need thousands of dollars in camera gear or years of photography training. You just need to understand a few fundamental principles, pay attention to light and composition, and take the time to capture those moments when they happen.
So next time we pull over at a scenic overlook and the light is painting everything gold, don't just snap a quick photo and climb back on your bike. Take a breath. Look around. Try a few different angles. Adjust your settings. Capture not just what you see, but what you feel.
Because years from now, when you're flipping through photos from your tour, those golden hour shots will transport you right back to that mountain road, that perfect temperature, that sense of freedom. And isn't that what this is all about?
Now get out there and start chasing some light. Your Instagram feed will thank you.
Comments